
 ENG
 English
 中文简体
 русский
 Español
 عربى

Fireproof silicone sealant is a specialized adhesive designed to withstand high temperatures and prevent the spread of fire. When it is used correctly, it closes gaps through walls, floors, pipes, and cable openings, slowing the passage of flame and smoke while still allowing the joint to move with the building. The wrong product, or the right product applied poorly, can undermine that protection. This guide covers both sides of the job: how to select a fireproof silicone sealant that suits your conditions, and how to apply it so it performs as intended.
The sections below cover material properties, typical applications, selection criteria, surface preparation, a step-by-step method, common errors, maintenance habits, and frequently asked questions. Where a figure depends on the product, it is presented as a general range, and the manufacturer's technical data sheet should always take priority.
Understanding Fireproof Silicone Sealant
Fireproof silicone sealant belongs to the wider family of high-temperature silicone products. Its polymer base gives it flexibility and resistance to weathering, while mineral fillers and fire-retardant additives help it resist combustion and keep its barrier intact when exposed to heat. The term is often used interchangeably with fire-resistant sealant, although actual test performance depends on the specific product and the standard it was certified against.
What Makes It Different from Regular Silicone Sealant
Standard silicone sealants are designed for bathrooms, windows, and general weatherproofing. They are useful in those settings, but they are not built to hold back flame or to keep a fire-rated opening sealed. A fireproof formulation differs in three main ways: its filler system, its tested performance under fire conditions, and the documentation that defines where it may be used.
Unlike regular silicone sealants, fireproof variants are formulated with materials that resist combustion.
Key point: A sealant is only fire-rated when the specific product has been tested and documented for the joint type in question. Packaging claims alone are not enough, so always match the product to a recognized test report or approved assembly.
Key Properties
The most important properties fall into three groups: heat performance, fire behavior, and waterproof durability. The table below summarizes the main characteristics to review on any data sheet.
| Property | What It Means | Why It Matters |
|---|---|---|
| Heat resistance | Stability at elevated service temperatures | Keeps the seal intact during prolonged heat exposure |
| Fire-retardant fillers | Mineral additives that slow combustion | Helps the joint hold back flame and smoke |
| Waterproof performance | Resistance to rain, condensation, and moisture | Protects the joint and substrates over time |
| Elastic movement | Capacity to stretch and compress with building movement | Reduces cracking as temperatures and loads change |
Silicone's elasticity is what sets it apart from many rigid fire-stopping materials. Joints in buildings and equipment expand and contract constantly, so a sealant that can follow that movement will keep its bond for longer.
1 to 4 hours
Common fire-test durations for rated joint systems
24 hours plus
Typical time for full cure through a standard bead
Product specific
Service temperature range listed on each data sheet
Key Applications of Fireproof Silicone Sealant
Fire-rated sealing is needed wherever a building element or machine is penetrated by services, or where two parts meet and must stay protected. The four sectors below use these products most often, and each has its own priorities.
Construction and Building
In buildings, the most common use is sealing around pipes, ducts, and cables where they pass through fire-rated walls and floors. Many projects specify a particular fireproof sealant listed for each joint type. Perimeter joints between slabs and curtain walls also rely on sealants that combine movement capacity with fire performance. Inspectors typically check that the product matches the approved assembly and that installation records agree with the label.
Automotive Industry
Vehicle manufacturers and component suppliers use high-temperature sealing around engine bays, heat-exposed panels, and wiring entry points. The sealant must tolerate heat cycling, vibration, oil and fuel exposure, and cleaning agents. Here the goal is usually a durable, flexible seal rather than a certified fire-stop, so product selection depends heavily on the exact operating environment.
Aerospace Applications
Aerospace assemblies place demanding requirements on sealing materials, including low outgassing, wide temperature tolerance, and stable performance through pressure changes. Engineers rely on qualified specifications and documented test results rather than general-purpose guidance, and any sealant used must follow the approved process for that component.
Electrical Installations
Electrical rooms, switchgear cabinets, and cable trays often include fire-rated penetrations. Sealing these openings helps limit the spread of fire and smoke between compartments. Installers should make sure cable bundles are fully sealed without overfilling, and that the sealant does not block future maintenance access.
| Sector | Main Priority | Selection Focus |
|---|---|---|
| Construction | Compliance with fire-rated assemblies | Listing for the exact joint type |
| Automotive | Heat cycling and vibration | Flexibility and chemical resistance |
| Aerospace | Qualified performance | Approved specification and test data |
| Electrical | Compartment separation | Clean sealing around cable bundles |
How to Choose the Right Fireproof Silicone Sealant
Selecting a product is less about finding the most impressive figure on a label and more about matching the material to the joint, the environment, and the approval requirements. Work through the four factors below before committing, and confirm your choice against the relevant specification or with the inspector.
Temperature Resistance
Temperature resistance describes how a sealant behaves under heat over time. Look for the service temperature range in the technical data sheet and compare it with the highest temperatures the joint is likely to see, including short peaks. A broad range gives more margin, but it does not replace a fire test. If a project calls for a specific rating, select a product listed for that exact assembly, because the temperature resistance of fireproof silicone sealant is only one part of the performance picture.
Cure Time
Silicone sealants cure by reacting with moisture in the air, so cure speed depends on humidity, temperature, and bead depth. Surface skinning can occur within minutes to about an hour, but full cure through a thick bead usually takes a day or more. Cure time affects scheduling, because a joint exposed to water, dust, or mechanical stress too early can be damaged.
- Tack-free time: the surface no longer sticks to the touch
- Handling time: the joint can be lightly touched without deforming
- Full cure time: the sealant reaches its final properties throughout
Adhesion Properties
A sealant is only as good as its bond. Many fireproof formulations adhere well to concrete, masonry, metal, glass, and common plastics, but some substrates require a primer or specific preparation. Where possible, test adhesion on a sample of the actual material, especially painted or coated metals and plastics that may contain release agents.
Application Conditions
Most sealants apply best within a moderate temperature range and under dry conditions. Low temperatures slow curing and can make the material stiff and difficult to tool. High humidity may speed the surface cure but can trap moisture beneath the skin in thick joints. Read the stated application window and avoid working in rain, frost, or on wet surfaces.
Use this checklist before ordering or installing:
- Confirm the product is listed for the specific joint and assembly type
- Check the service temperature range against expected conditions
- Review tack-free and full cure times against the project schedule
- Verify substrate compatibility and whether a primer is required
- Confirm the application temperature and humidity window
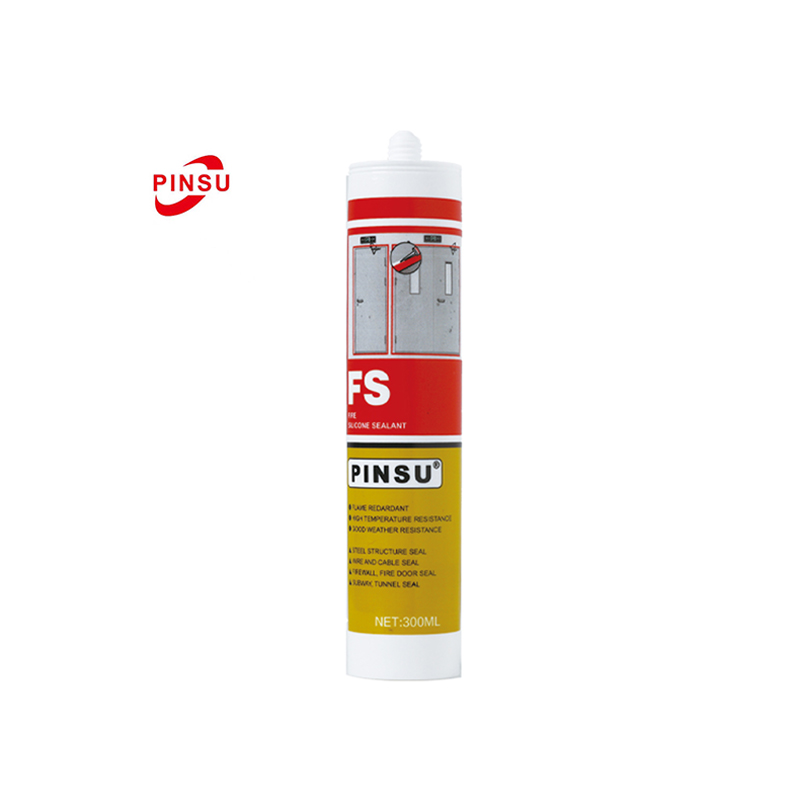
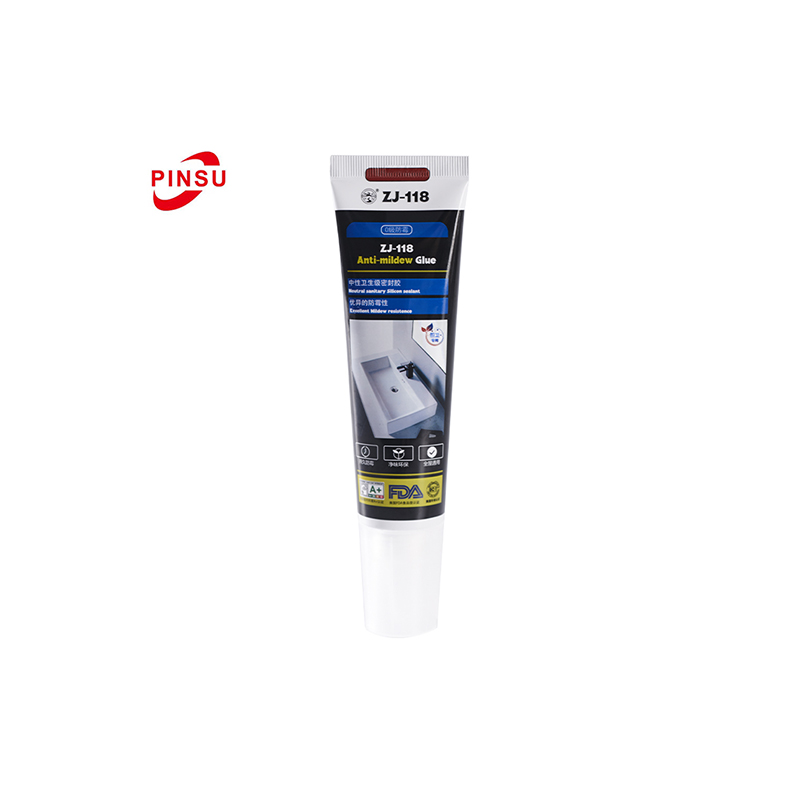
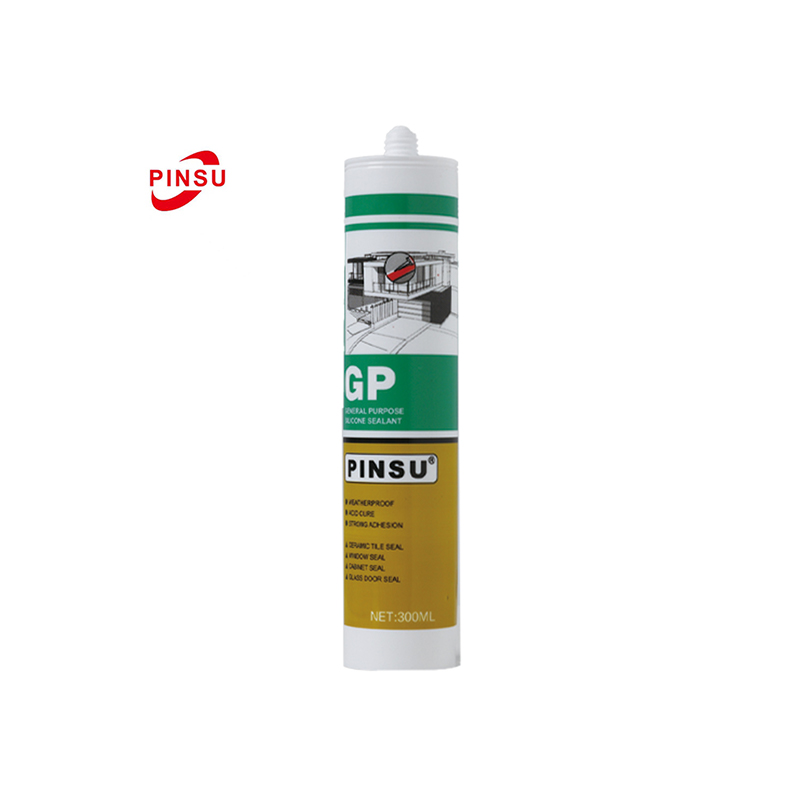
Browse our fire-resistant sealant options to compare listed products against these criteria.
Preparing the Surface for Application
Proper surface preparation is key to achieving a strong bond with fireproof silicone sealant. Most adhesion failures come from contamination rather than from the sealant itself, so time spent on preparation is often the most cost-effective way to improve performance.
The backer rod controls the depth of the bead so the sealant bonds on two sides rather than three. This allows the joint to flex properly and reduces the risk of tearing at the base.
Clean the Surface
Remove dust, oil, grease, old sealant, paint flakes, and release agents from both faces of the joint. Use a solvent recommended by the manufacturer and a clean lint-free cloth, and wipe in one direction so contaminants are not pushed back into the gap. Mechanical scraping or a wire brush can remove loose residue on masonry and metal.
Dry the Area
Moisture is one of the most common causes of failed bonds. Surfaces should be fully dry before application, and any condensation must evaporate first. A clean air blower or a sufficient drying period after solvent cleaning helps. A joint that stays damp can trap water beneath the sealant and weaken the bond from the start.
Masking (Optional)
Masking tape creates clean, straight edges and reduces cleanup. Apply tape a few millimeters from each edge of the joint, press it down firmly, and remove it while the sealant is still workable. The following sequence works well for most joints.
- Remove old sealant and loose material
- Clean both faces with an approved solvent
- Allow the joint to dry completely
- Insert backer rod to the correct depth
- Apply masking tape if clean edges are needed
Step-by-Step Application Process
A consistent sequence keeps the bead even and the bond secure. The method below suits most cartridge-based joints, but always follow the manufacturer's instructions and any approved assembly drawing for fire-rated work.
Tools and Materials You Need
- Cartridge of fireproof silicone sealant
- Caulking gun in good working order
- Sharp utility knife for cutting the nozzle and trimming tape
- Backer rod of the appropriate diameter
- Clean lint-free cloths and an approved solvent
- Masking tape and a tooling spatula or smoothing tool
- Protective gloves, eye protection, and a ventilated work area
Application Steps
- Cut the nozzle at an angle, starting with a small opening that can be enlarged to match the joint width.
- Load the caulking gun carefully, checking that the cartridge seal is pierced and the plunger seats correctly.
- Apply the bead. Move the nozzle along the gap at a steady pace, maintaining consistent pressure to ensure an even bead of sealant. Push the material into the joint rather than dragging it across the surface.
- Smooth the surface within a few minutes using a lightly soapy tool or a tooling spatula, pressing the sealant firmly against both sides.
- Remove the tape while the sealant is still workable, pulling it away from the bead at a low angle.
- Protect the bead from rain, dust, and mechanical contact during the early cure period.
- Allow to cure for the full time stated by the manufacturer before the joint is loaded, painted, or tested.
Once the sealant is smooth, leave the joint undisturbed until it has skinned over. Protect it from water and dust for the period stated on the data sheet, and keep the workspace ventilated during curing.
Common Mistakes and How to Avoid Them
Most application problems are predictable and preventable. The four errors below appear repeatedly on job sites, and each one has a straightforward fix.
Skipping Surface Preparation
Applying sealant directly over dust, oil, or old material is the fastest route to a failed joint. The bead may look acceptable on the day, then peel away after thermal movement or moisture exposure. Treat preparation as part of the installation, not an optional extra.
Applying in Adverse Conditions
Working in cold, wet, or damp conditions affects both curing and adhesion. Check the temperature and humidity window before starting, and postpone work if rain or frost is expected before the sealant has skinned. Protect fresh work with covers where weather is uncertain.
Over or Under Applying Sealant
Applying too much can create a mess and may not cure correctly, while too little can lead to gaps. A bead that is correctly sized for the joint, and tooled so it contacts both faces, gives the best balance of coverage and movement capacity.
Ignoring Cure Time
Loading, painting, or testing a joint before it has fully cured can crack the seal or pull it from the substrate. Plan the schedule around the full cure time from the data sheet, not just the tack-free time that appears first on the label.
| Mistake | Likely Result | Better Practice |
|---|---|---|
| Skipping preparation | Adhesion failure | Clean and dry both faces |
| Poor conditions | Weak or uneven cure | Work within the stated window |
| Wrong bead size | Mess or gaps | Size the bead to the joint |
| Early loading | Cracking or detachment | Wait for full cure |
Maintenance and Care Tips
A well-installed joint still needs periodic attention, especially in areas exposed to heat, moisture, or mechanical wear. Simple routine checks catch small problems before they become gaps in fire protection.
Regular Inspections
Inspect fire-rated joints on a planned schedule, paying particular attention to penetrations that have been disturbed by new services or maintenance work. Look for cracks, shrinkage, lifting edges, discoloration, or areas where the sealant has pulled away from the substrate.
- Check joints near heat sources or outdoor exposure more frequently
- Record findings and any repairs in the building or equipment log
- Repair damage with a product compatible with the original assembly
Clean with Care
Use mild, non-abrasive cleaners on sealed joints and avoid aggressive solvents unless the manufacturer approves them. Harsh abrasion can thin the surface and expose the joint to moisture. Soft cloths and gentle wiping are usually enough to keep the area presentable.
Keep It Dry
Water is the main enemy of a long-lasting seal. Address leaks, condensation, and drainage problems promptly, since standing water can degrade both the sealant bond and the surrounding materials over time.
A simple rule of thumb: if a joint looks different from when it was installed, investigate it before the next heating or weather cycle.
Frequently Asked Questions (FAQ)
Q1: What is fireproof silicone sealant made from?
It is typically built on a silicone polymer base combined with mineral fillers and fire-retardant additives. The exact formulation varies by manufacturer, so the data sheet is the best reference for composition and performance.
Q2: How long does fireproof silicone sealant take to cure?
The surface usually skins within minutes to about an hour, while full cure through a standard bead often takes 24 hours or more. Humidity, temperature, and bead depth all affect the timing, so follow the stated cure schedule.
Q3: Can I paint over fireproof silicone sealant?
Generally, painting is not recommended unless the data sheet explicitly lists the product as paintable. Silicone surfaces resist paint adhesion, and paint can alter the fire performance of a rated joint, so confirm compatibility before proceeding.
Q4: Is fireproof silicone sealant waterproof?
It is designed to resist moisture once cured, which makes it water-resistant in most applications. True waterproof performance depends on joint design, backer rod placement, proper cure, and substrate condition.
Q5: How do I remove fireproof silicone sealant?
Cut away the bulk with a utility knife, then soften the residue with a remover approved by the manufacturer and scrape with plastic tools to protect the substrate. Do not remove sealant from a fire-rated joint without approval, and replace it with a product matching the original listing.
Conclusion
Mastering the application of fireproof silicone sealant is a valuable skill that can significantly affect the safety and durability of your projects. Choose a product that is listed for your exact joint type, prepare the surface carefully, apply the bead with steady pressure, and respect the full cure time. Taken together, these habits turn a routine caulking task into reliable fire protection.
For the next step, explore the full range of options on the product page and compare each data sheet against the criteria covered in this guide.

 TOP